2020 Vision Board

Have you ever made a vision board before? They are a great way to help you visualize your dreams. I have taught a few different ways to make them, but this year, I want show you how you can use digital programs like Pinterest and Canva to create your vision board.
Step 1: Get clear on what your goals are. Download my Seattle Sparkle Winter Solstice Goal Setting Worksheet, and Seattle Sparkle Wheel of Life. Refer back to my Winter Solstice post for more information about that. I break life up into five main categories: health, relationships, finances, career, and spirituality (or “connection to something greater”). The solstice is a great time to set your main intentions for the year. We will be making individual vision boards for the five main areas of life.
Once you’ve downloaded the worksheets, here are some more detailed instructions.
Page 1- What feelings or images would you like to create in these areas? Do a quick doodle (even if it’s just stick figures!) with some words to represent what you’re wanting to bring in or continue working on. You may want to draw a picture your smiling face, you practicing and/or completing a difficult task, a house, a partner, a vacation… whatever comes to your mind. Your intuition works quickly, so you don’t need to spend too much time on this.
Write down a few words to explain what the doodles are (if necessary) and the feeling words to accompany these areas. You may want to use words like “happy, rested, clear headed, strong, bliss… etc.”. Choose words that are in the positive such as “relaxed” vs “not stressed”. Make sense?? While it’s incredibly important to be conscious of what you don’t want, so you can recognize it and be conscious of your actions, put more focus on what you DO want (to the best of your abilities… this can be hard sometimes).
Page 2- What goals are you working towards in these areas? These goals should be measurable so that you’ll know when you’ve achieved them. The measurement may be something like a particular achievement “I will get this X certification”, or “I will save $X”, or “I will weigh X”. But they might also be less linear, like “my body will feel pain free” or “I will develop a stronger relationship with X”. In these less linear examples, you are really the only judge as to if you’ve achieved them, yet both types are totally valid.
Page 3- What processes or tasks will you implement in these areas? Let’s say you want to achieve a particular certification. Your tasks might be made up of studying 20 minutes every night, going to class 2 days a week, or doing the other type of work the certification requires. Or if you want to develop a stronger relationship with your partner, your tasks might be something like hiring a babysitter so you can on a real date once a week, taking a couples class together, or doing a workbook together.
Page 4- Create Your Own Habit Tracker. You’ll probably want to just use this sheet to brainstorm some ideas about what you want to do and how often. Then create your own tracking system using whatever method works best for you. You may want to use a habit tracking app, a chalkboard, a pen and paper, an Excel document… or you may even want to hire a coach to help you stay accountable.
Making Your Vision Board
Once you are clear on your goals for the year, start to make your vision board. The following are instructions for how I made my vision board for the year. Use whichever of the ideas resonate with you.
Step 1: Pinterest is a great way to keep track of your ideas. I made five different boards for each of the areas of life. If you haven’t already, you can download the Pinterest browser button to add pins from photos you find on the web. You can also create pins from your own photos. I find it much easier to use a computer to do this work, although you can use the mobile app to save photos to your various boards if you’re on the go.
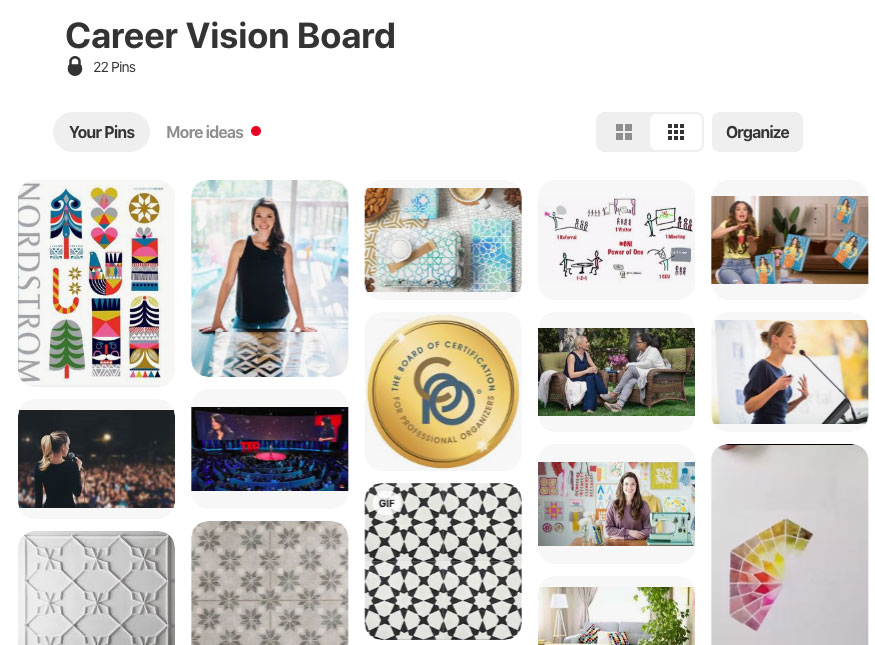
Step 2: Collect lots of images for each of the categories. Pinterest offers a really nice way to see everything together. These boards can also serve as mobile vision boards.
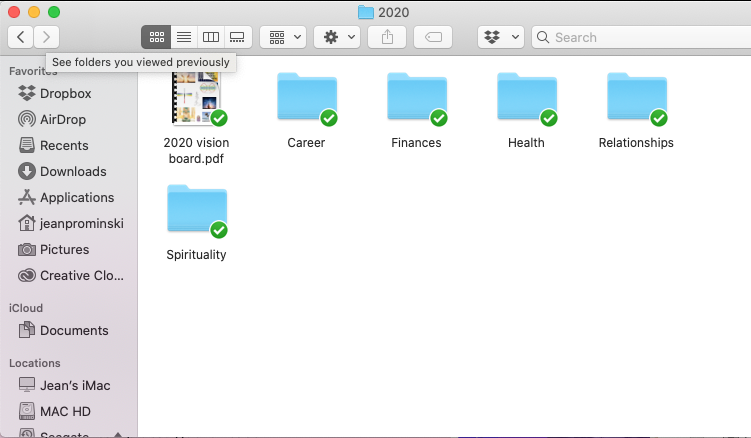
Step 3: Create a folder on your computer that says “Vision Board”. Within that, create a folder that says “2020 Vision Board”. Within that folder, make five separate folders: Health, Relationships, Finances, Career, and Spirituality (or “Connection to Something Greater”). This may seem like an extra step, but there is a list of reasons why I recommend doing it this way. If you have a better idea about how to do this, please send me a message, or join our Declutter & Organize With Seattle Sparkle and let us know.
Step 5: Drag your top 10-12 images from each of your Pinterest boards into the appropriate folders. When you do this, I recommend labeling each of the images, so you know what they are. (I work on an Apple computer, so this may be different with PCs.)
Step 6: Create a free Canva account, if you don’t already have one. Their mobile app is great if you’re on the go, but it’s not as fully robust as using Canva on your computer. For this, I recommend using the version on your computer.
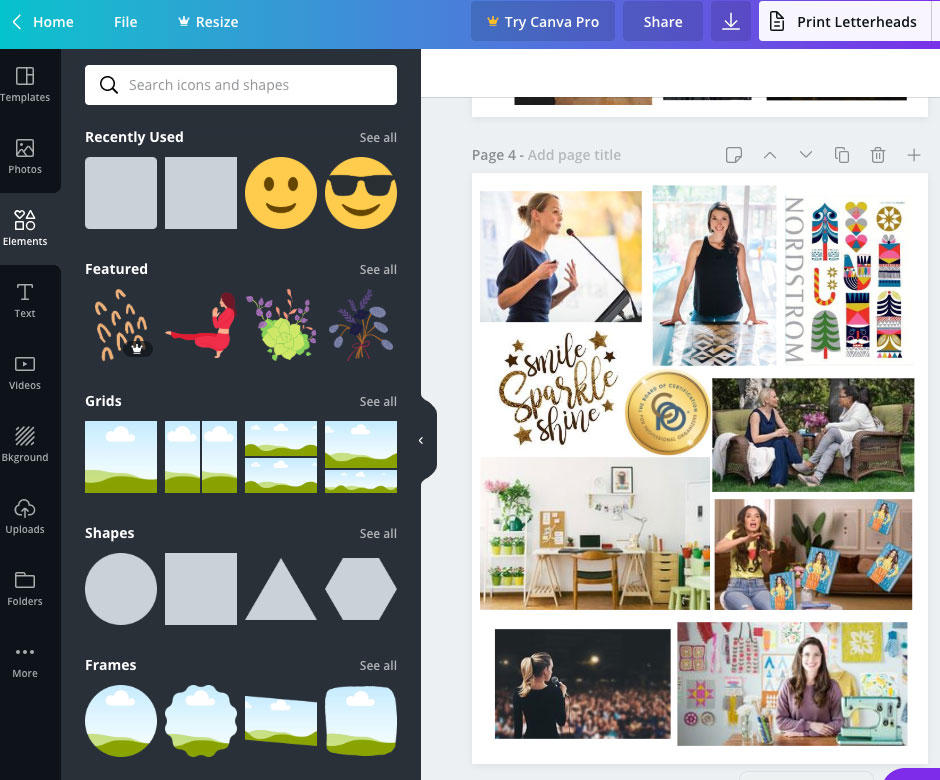
Step 7: Open a new Letter sized document (8.5” x 11”). Each page will be a different category of your vision board. Drag all the photos from ONE of the categories into the area that says “uploads”. You will then be able to drag these photos onto the page of the Canva document. Play with different layouts and sizes for your photos. Have fun playing with the different frames, fonts, colors and other elements they offer.
Step 8: Create another page to create more visual clarity with your goals. (This page is like a combination of pages two and three of the worksheet.). What specific goals are you working towards and how will you get there? Your ideas about this may not be fully formed yet, and that’s ok. Even if you don’t know exactly how you’re going to get somewhere, the more you stay connected with your vision and your self-care, you will be on the course for inspired action. The more balance you can bring into your life, the more often you will find yourself in the right place at the right time.
Step 9: Once you’ve created all 6 pages, download the PDF document to your computer and save it in your 2020 Vision Board folder.
Step 10: Print! If you’ve got a good quality color printer, you can print this out at home. Otherwise, save it to a jump drive and bring it to your local print shop. (I printed mine out at Staples).
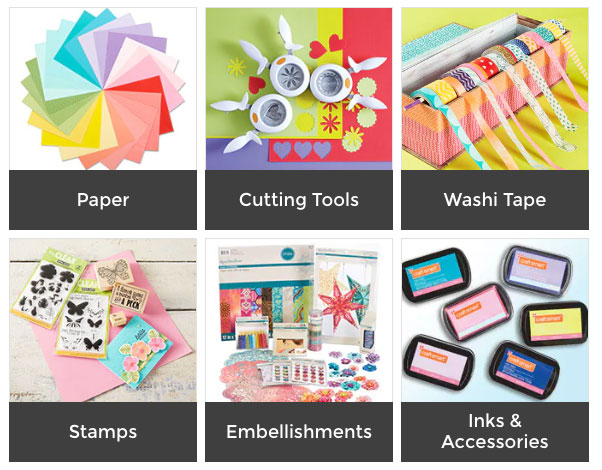
Step 10: Accessorize! You may want to use colored sheets of paper or attach what you printed out onto a larger board. It’s easy to go down a rabbit hole of options and never finish… so be mindful of that. Set a time limit or give yourself a deadline. Visit your local craft store for some inspiration. Lay out the papers so that they create the feeling of a cohesive board. There is a Michaels very close to where I live, but I also love Artist & Craftsman Supply and Dick Blick.
Step 11: Hang it up! Put your board somewhere where you will see it often, and can catch glimpses of it in your periphery. While it’s a good idea to actually LOOK at your vision board, putting too much pressure on yourself to look at it will impede the positive effects. If you find that when you look at it, you feel doubt, discouragement, or other types of pessimism about these things really happening, put it somewhere else. It’s too close. Good quality relationships develop over time, usually with some distance and space to breathe. Treat your vision board like someone you want to be friends with for the long term. Take it slow and build trust.
If you want to try using Pinterest and Canva to make your vision board, but need some help with digital organization, contact Erica Rodgers to see how she can help! She’s great with computers, but can also set up regular accountability calls with you to help you stay on track to achieve your 2020 vision!
How do you like to make your vision board? Join our Sparkle Tribe and let us know!
Image credits: Michaels and John Petalcurin.


