

How To Sew A Face Mask
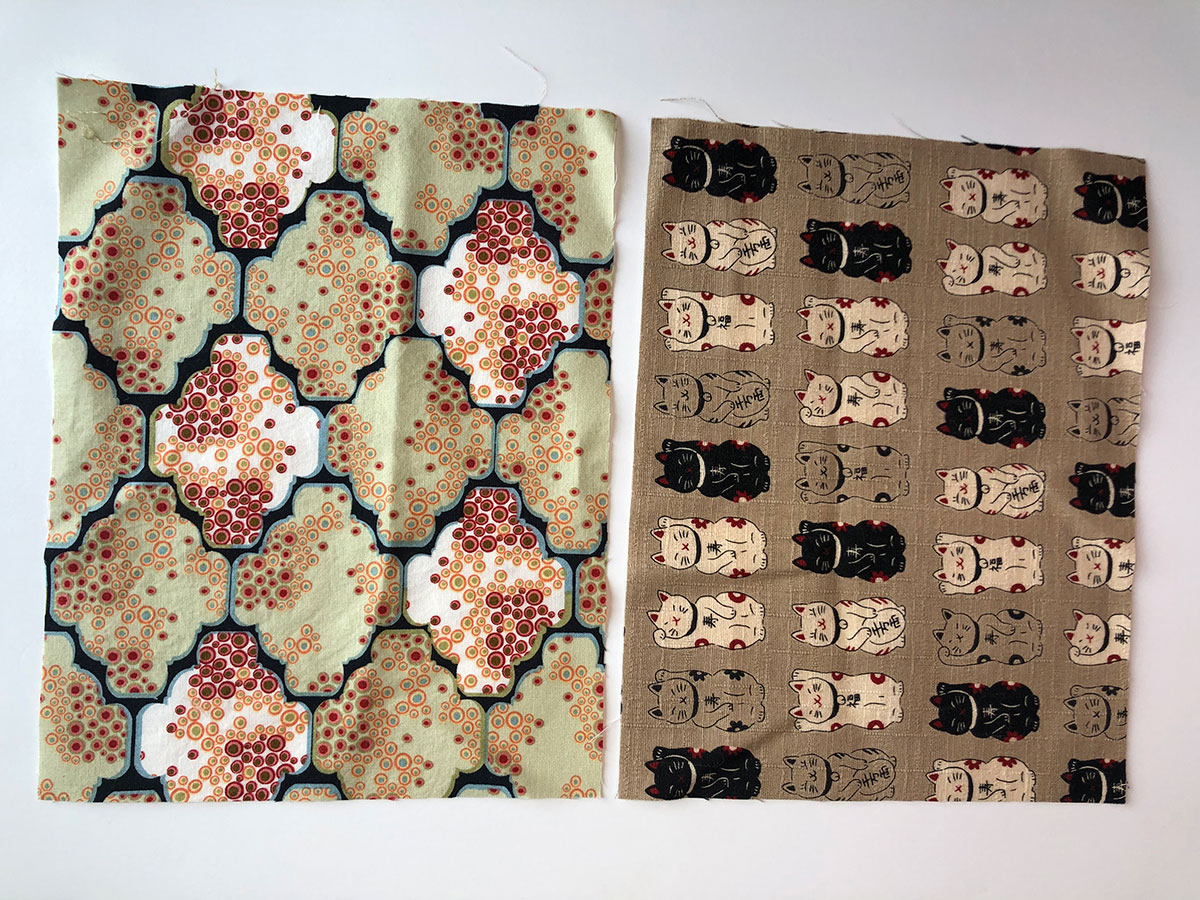
Step 1: Cut 2 pieces of cloth that are 7" by 9".
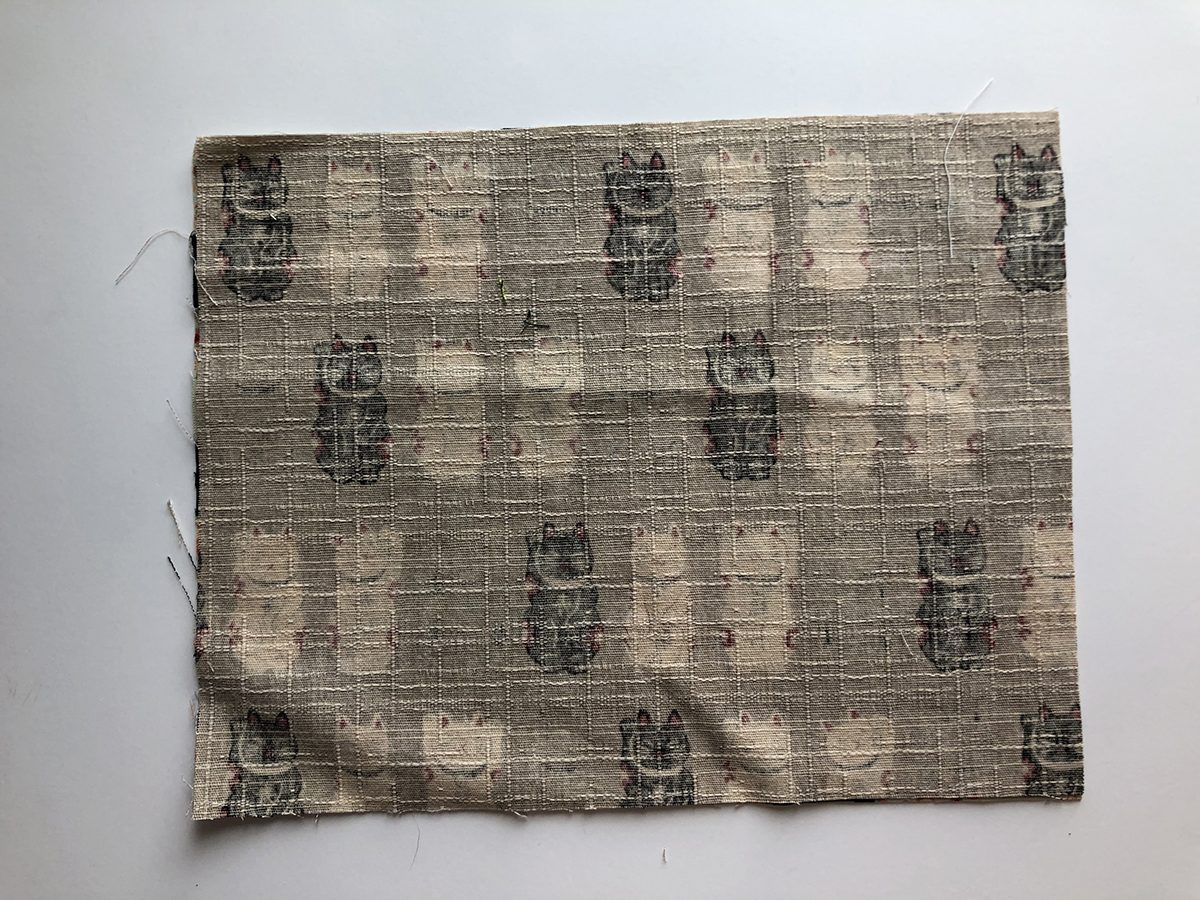
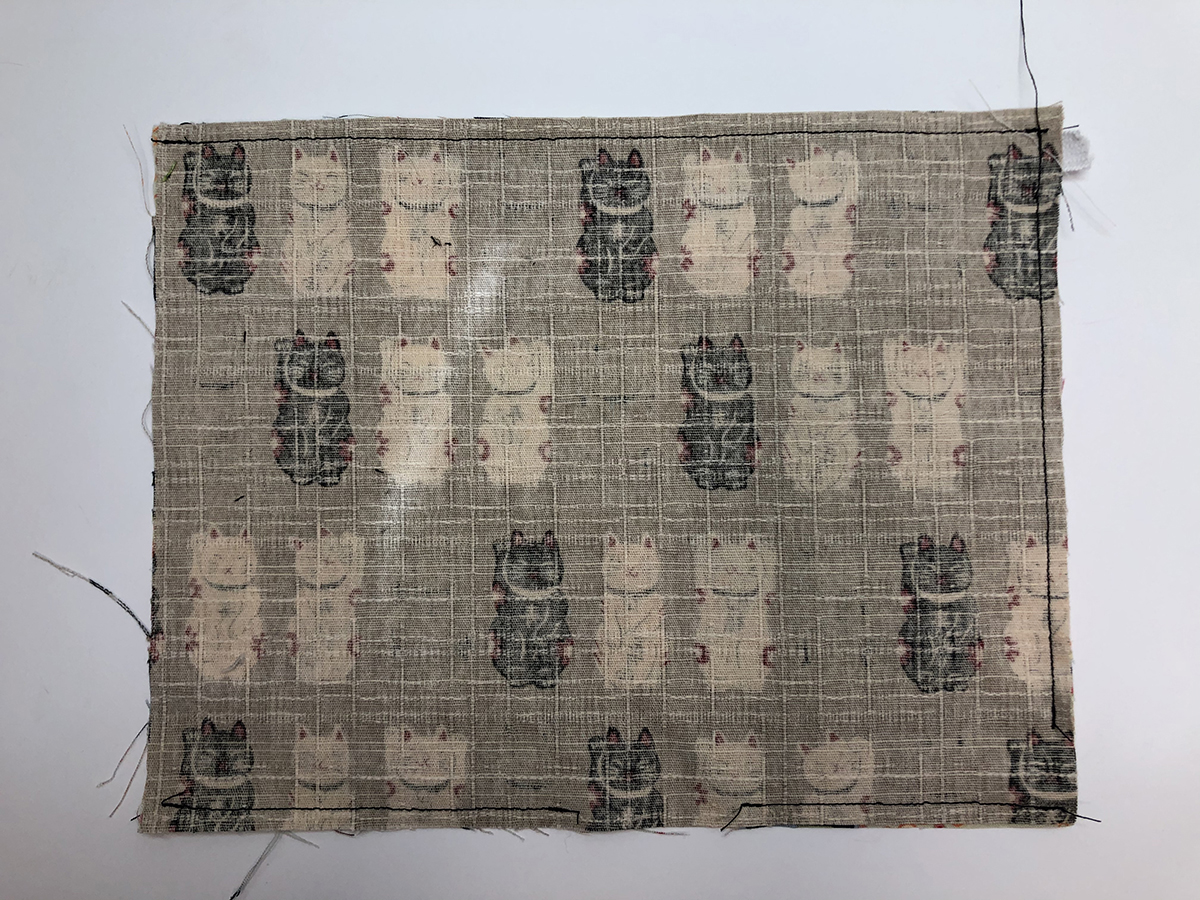
Step 2: Put "right sides" facing together.
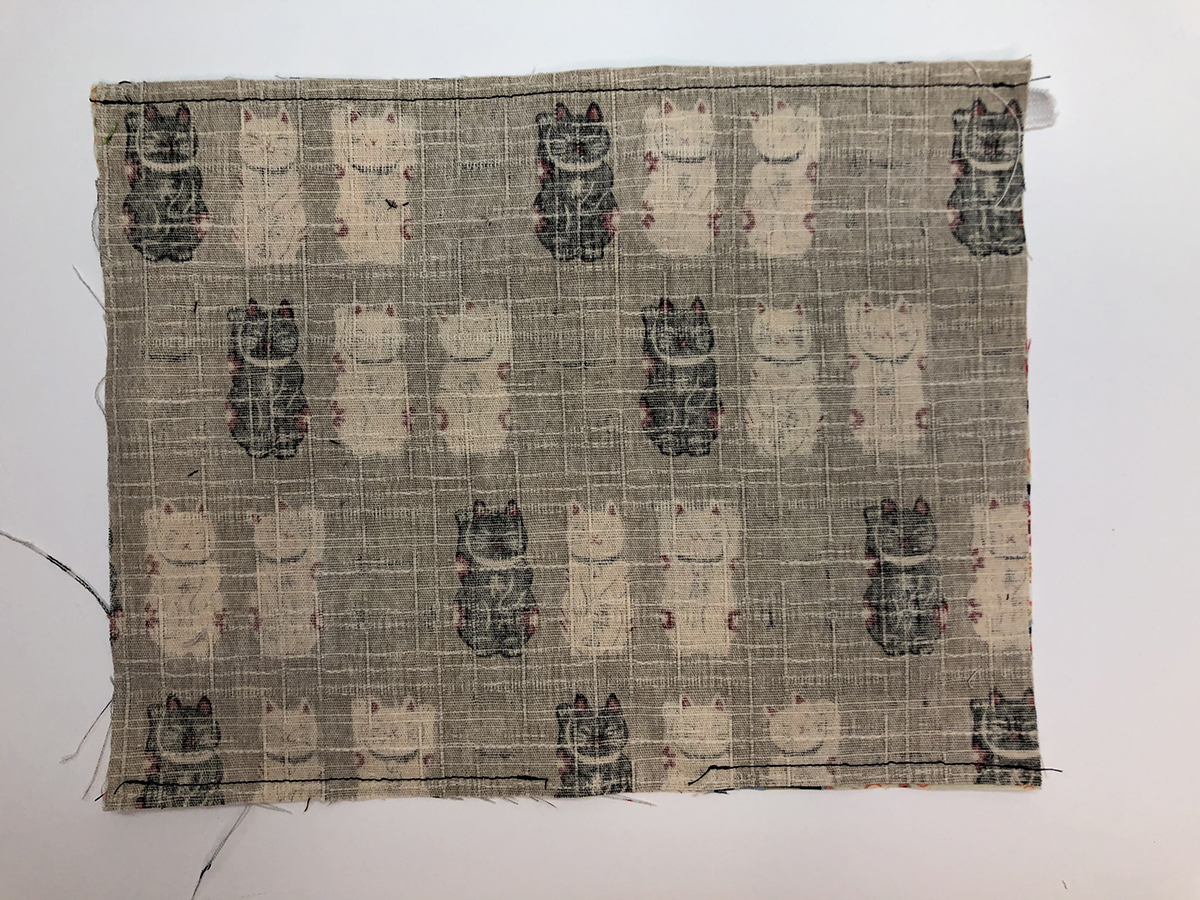
Step 3: Sew along the top edge. Then sew along the bottom edge, leaving about a 2" gap in the center.
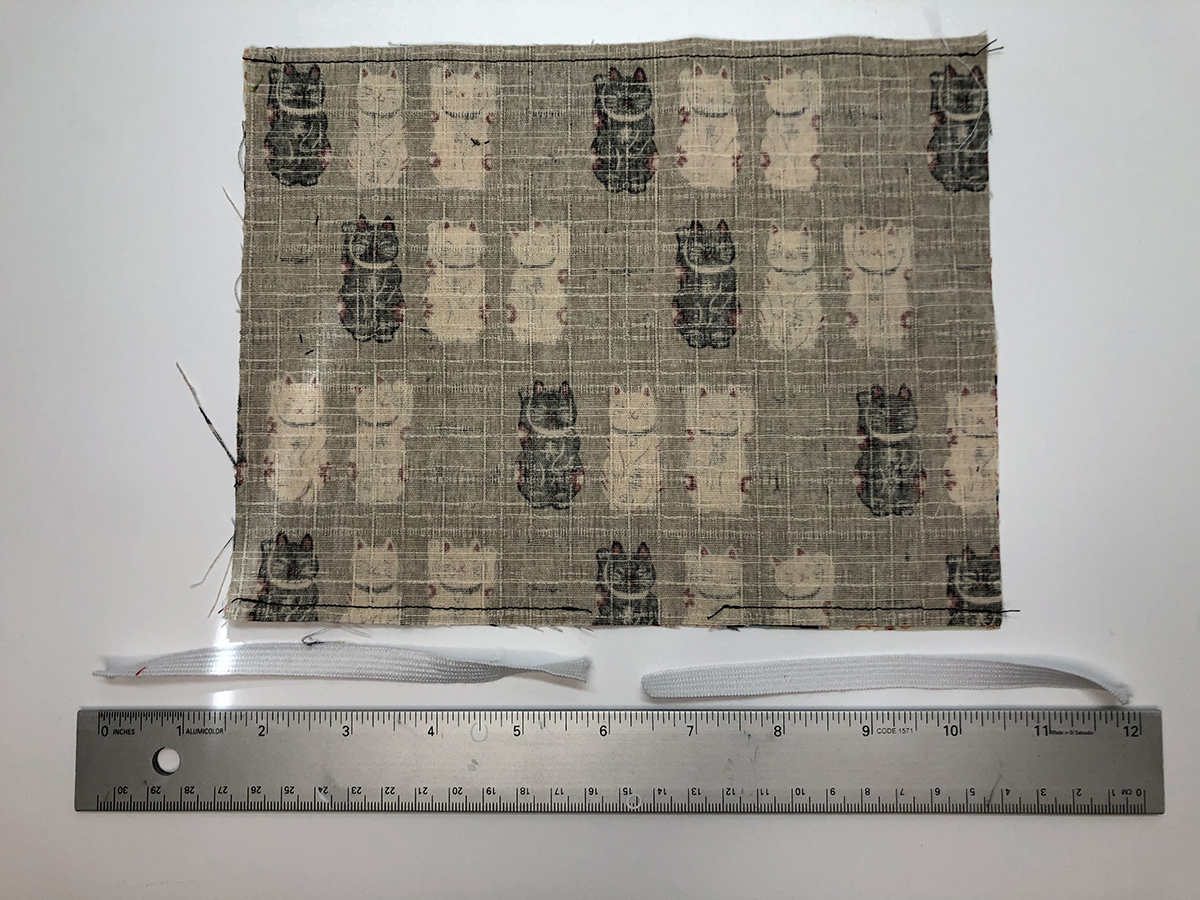
Step 4: Cut 2 pieces of elastic. I use 6" pieces.
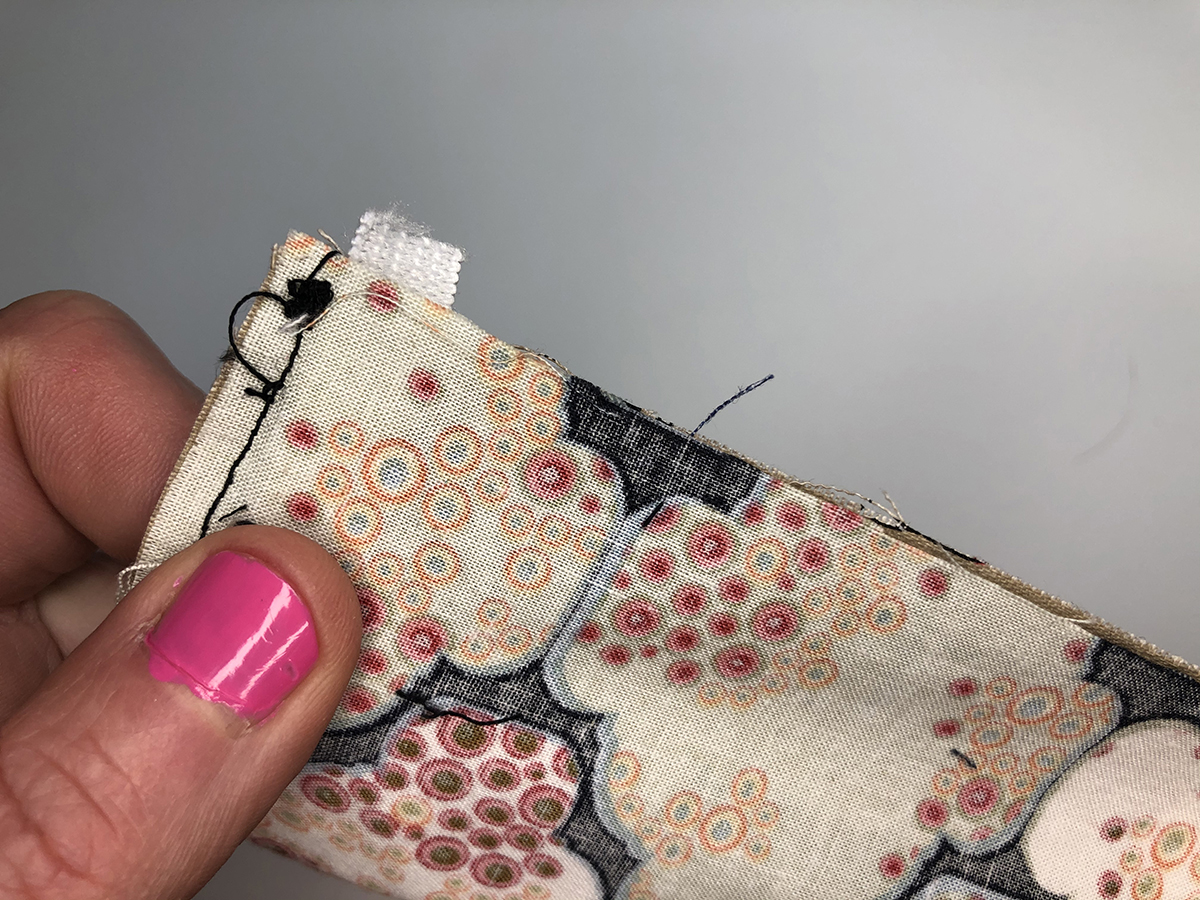
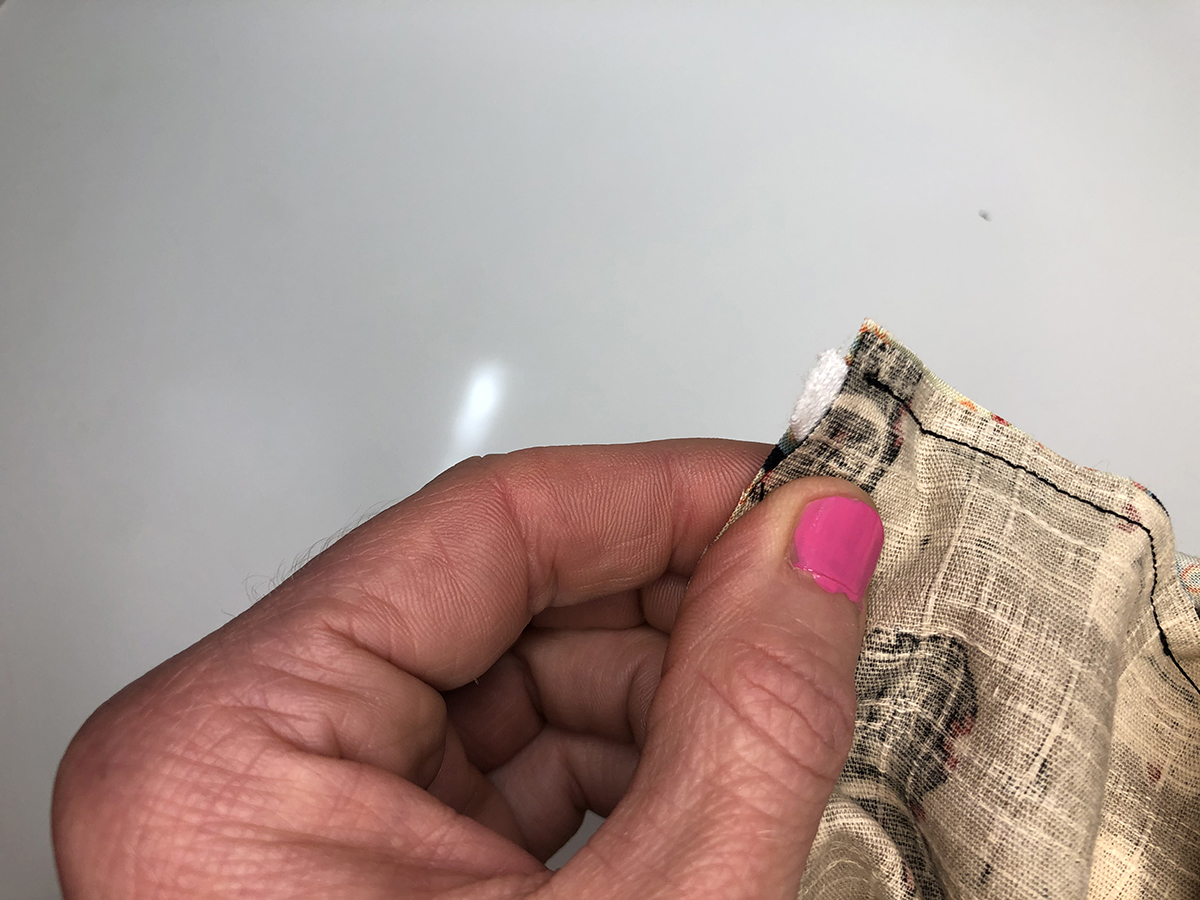
Step 5: Put your first piece of elastic inside the fabric, with 1/8" -1/4" of an inch sticking out.
Step 6: Sew down the edge with the elastic, leaving a 1/2" gap at the bottom.
Step 7: Reach inside and stick the other end of the elastic through the gap you just left.
Step 8: Hold the elastic in place, and sew it together.
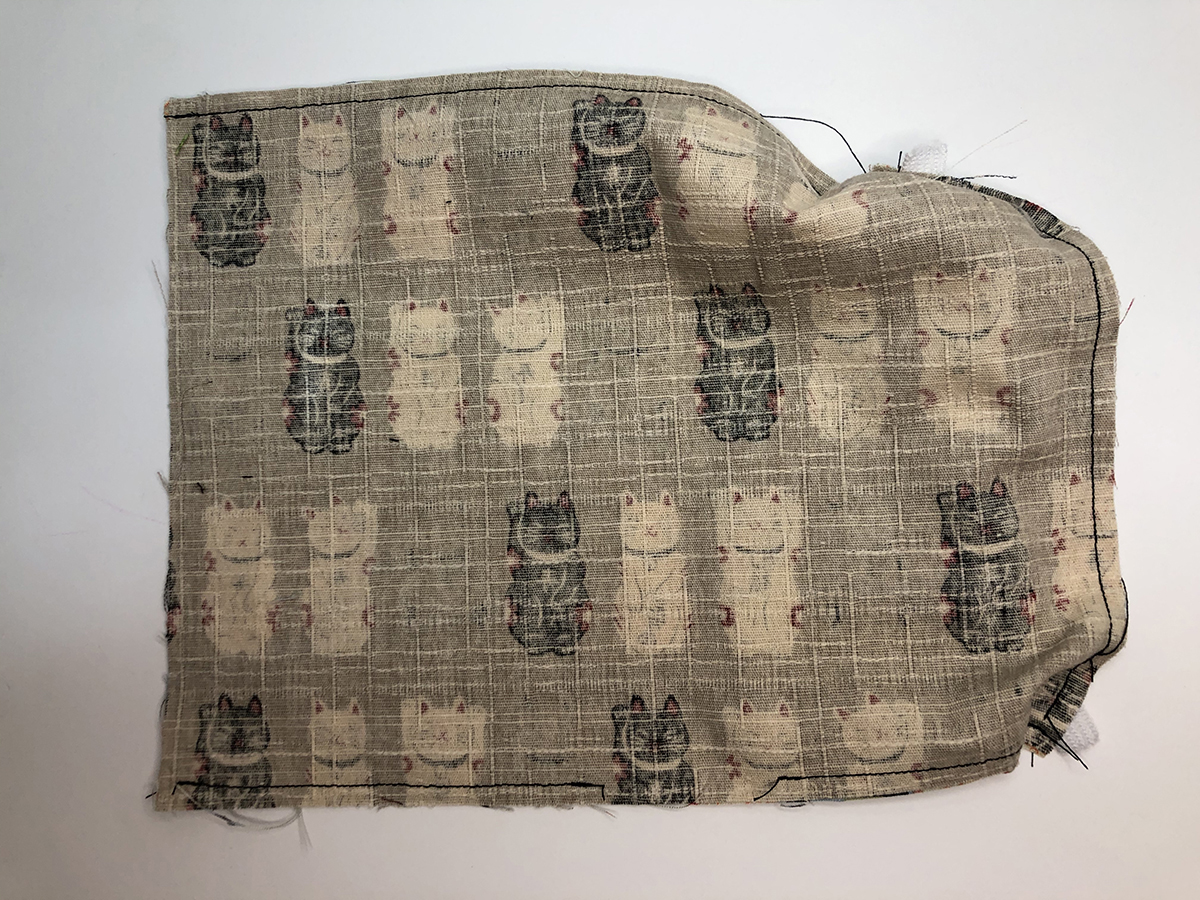
Step 9: You have just sewn a loop of elastic inside the mask.
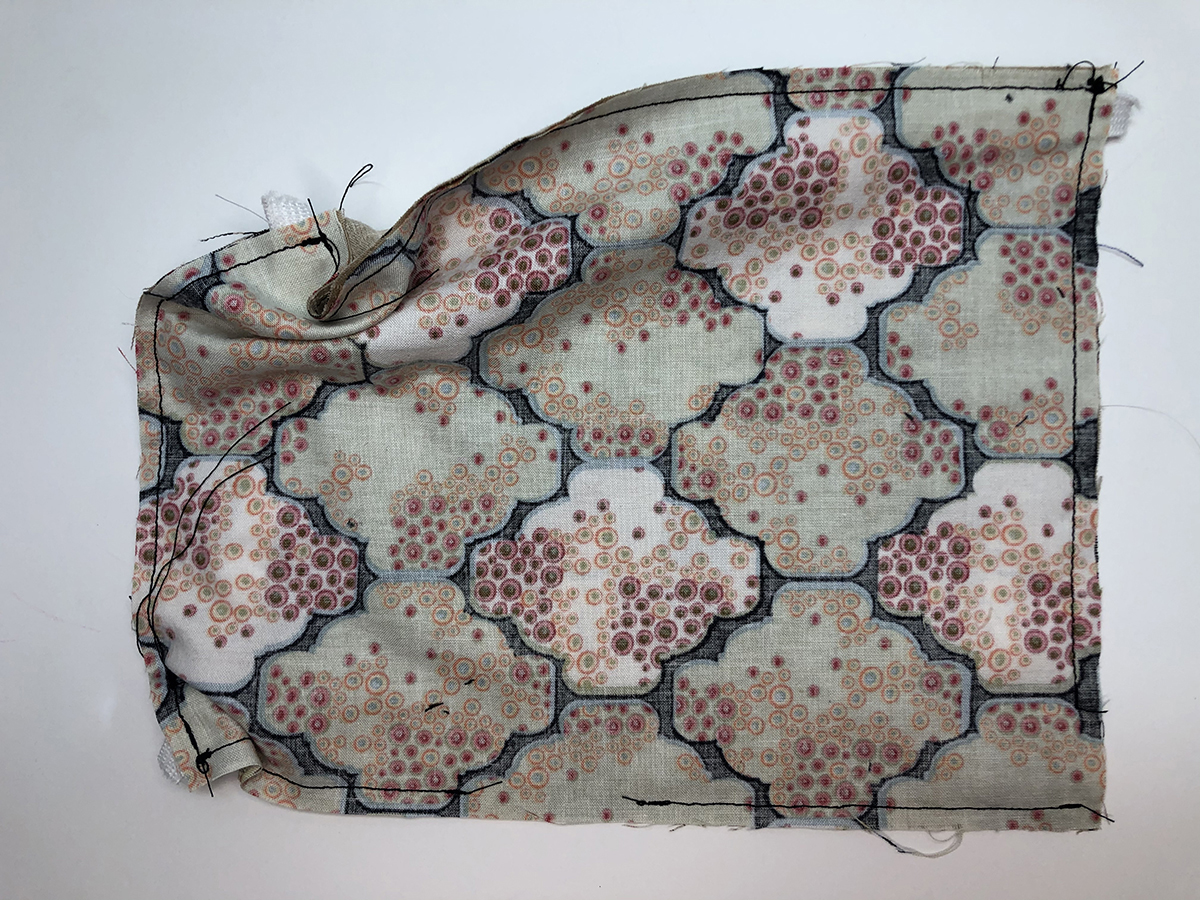
Step 10: Put the second piece of elastic inside the mask, just like you did on the other side. Sew down the side, leaving a 1/2" gap at the bottom.
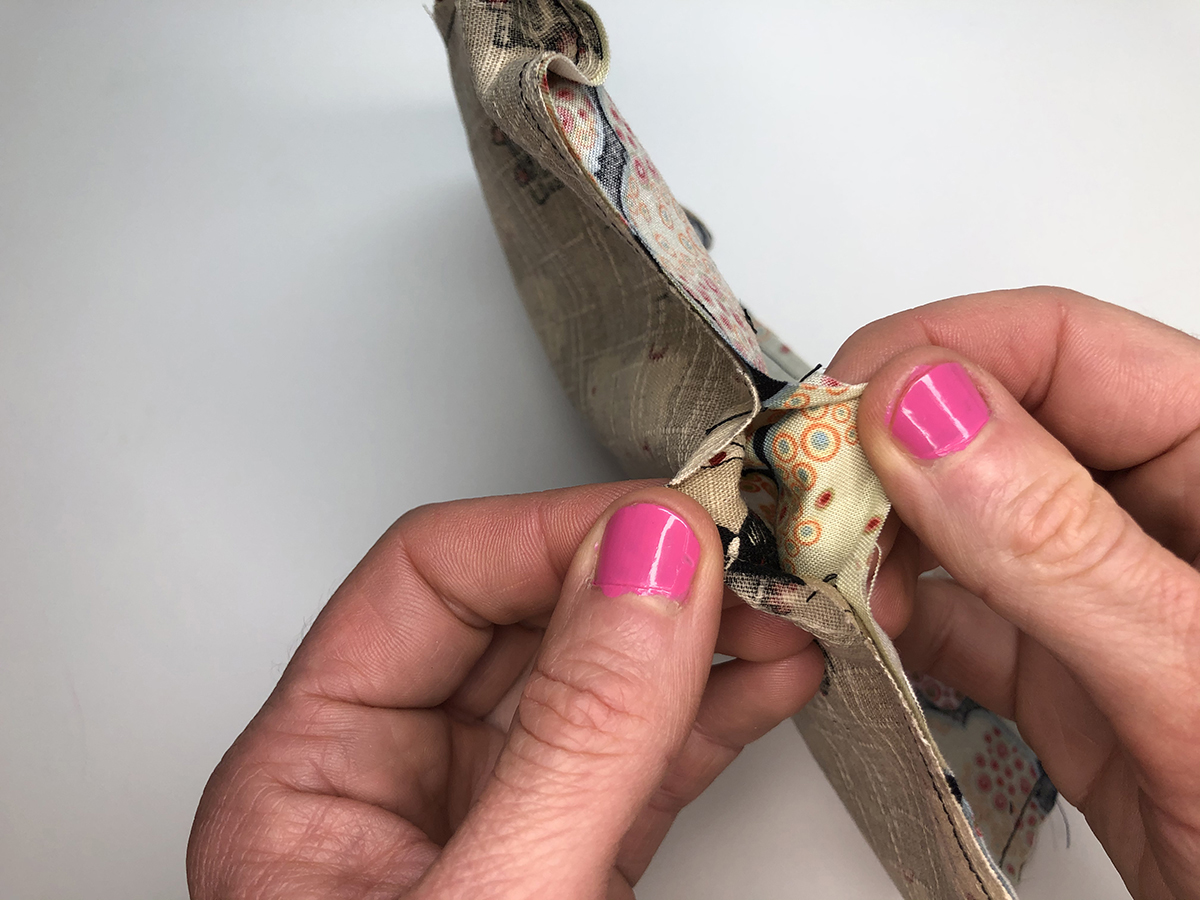
Step 11: This is one of the trickier parts. Use the gap at the bottom of the mask to reach inside to get the end of the elastic. Stick 1/8"-1/4" of the elastic out the gap at the bottom of the side (like you did on the other side).
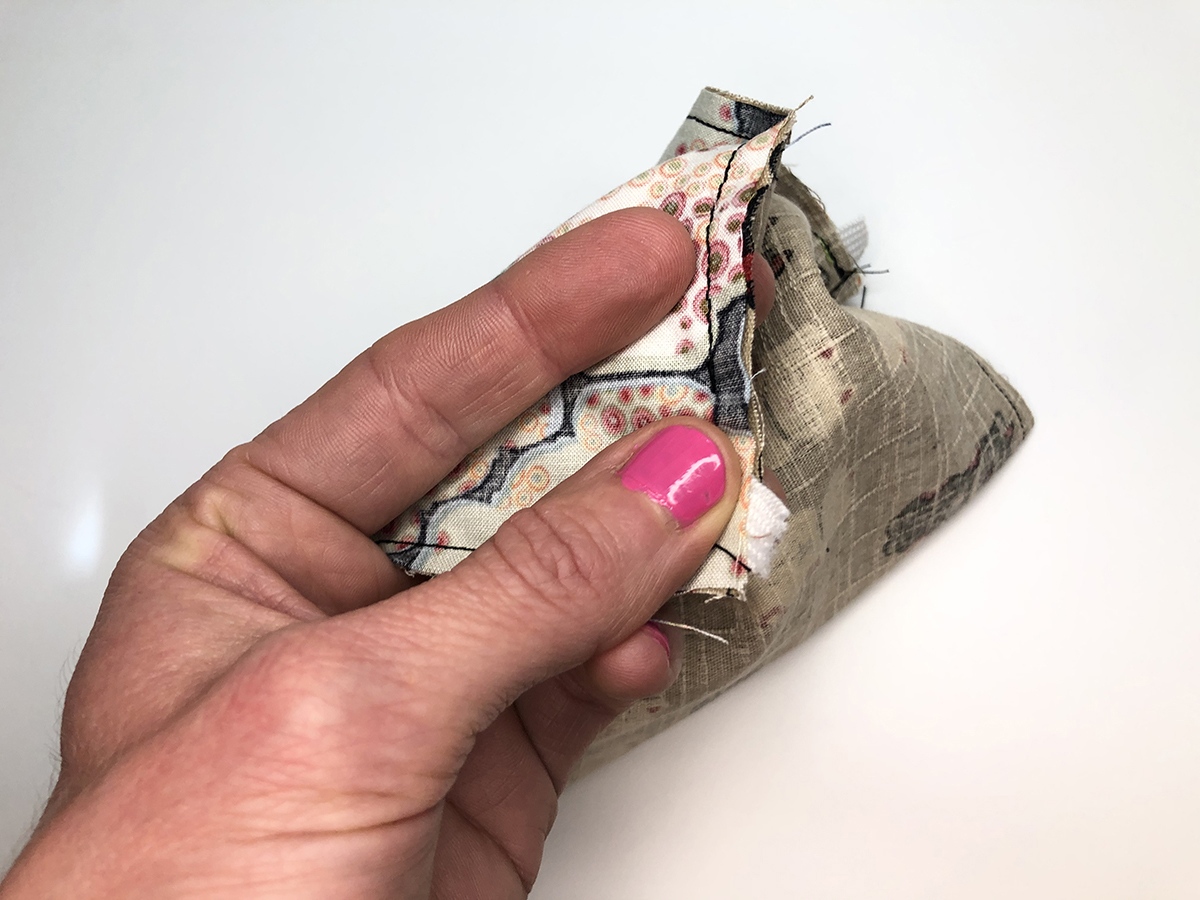
Step 12: Hold the elastic in place, and sew it together.
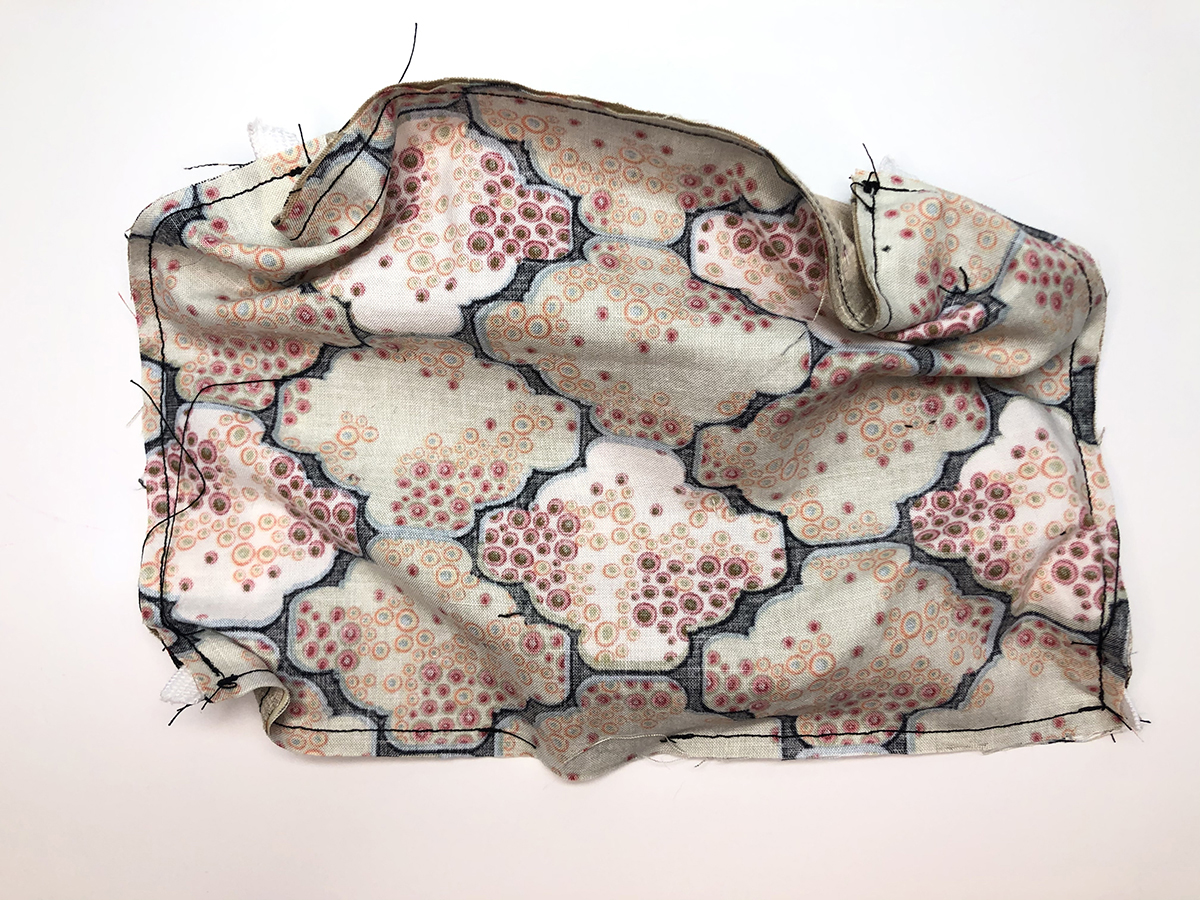
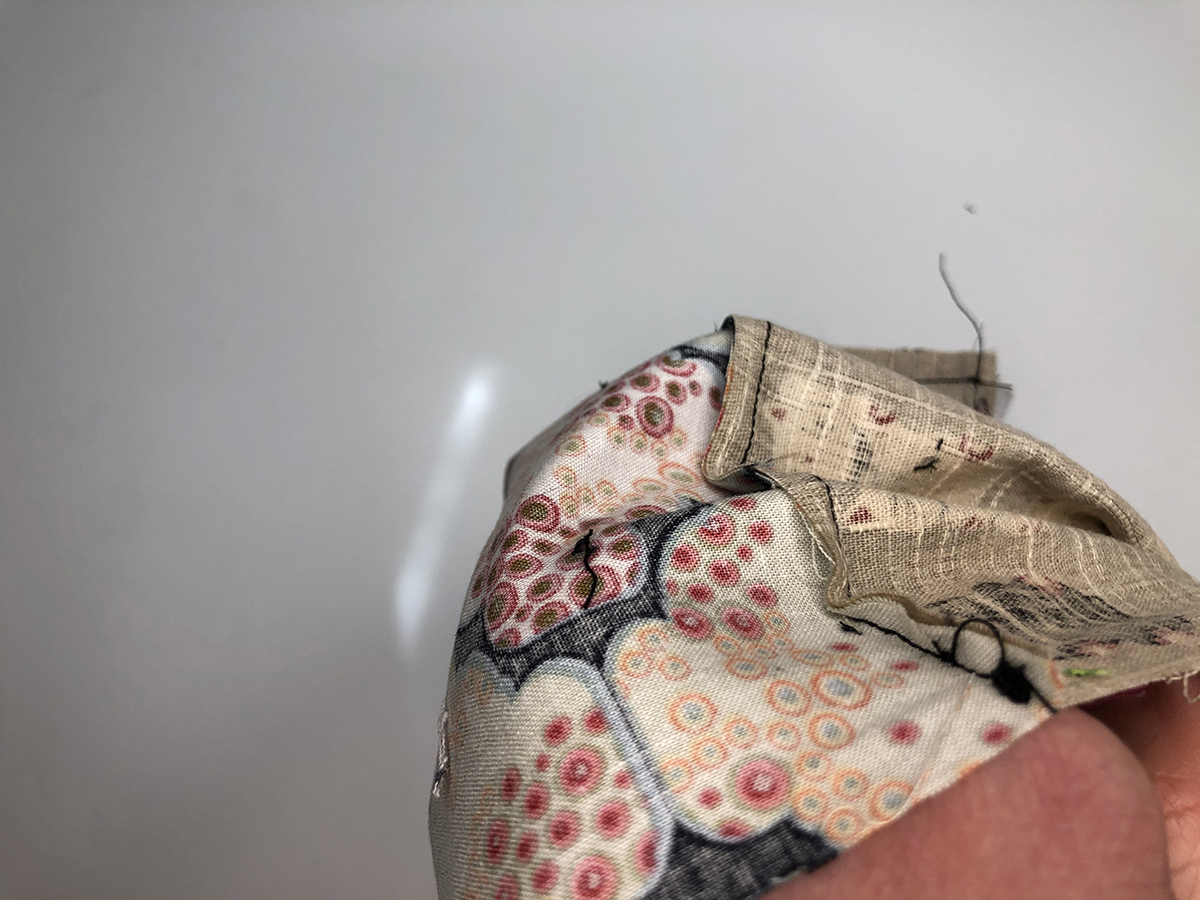
Step 13: Now you have a beautifully lumpy partially done mask!

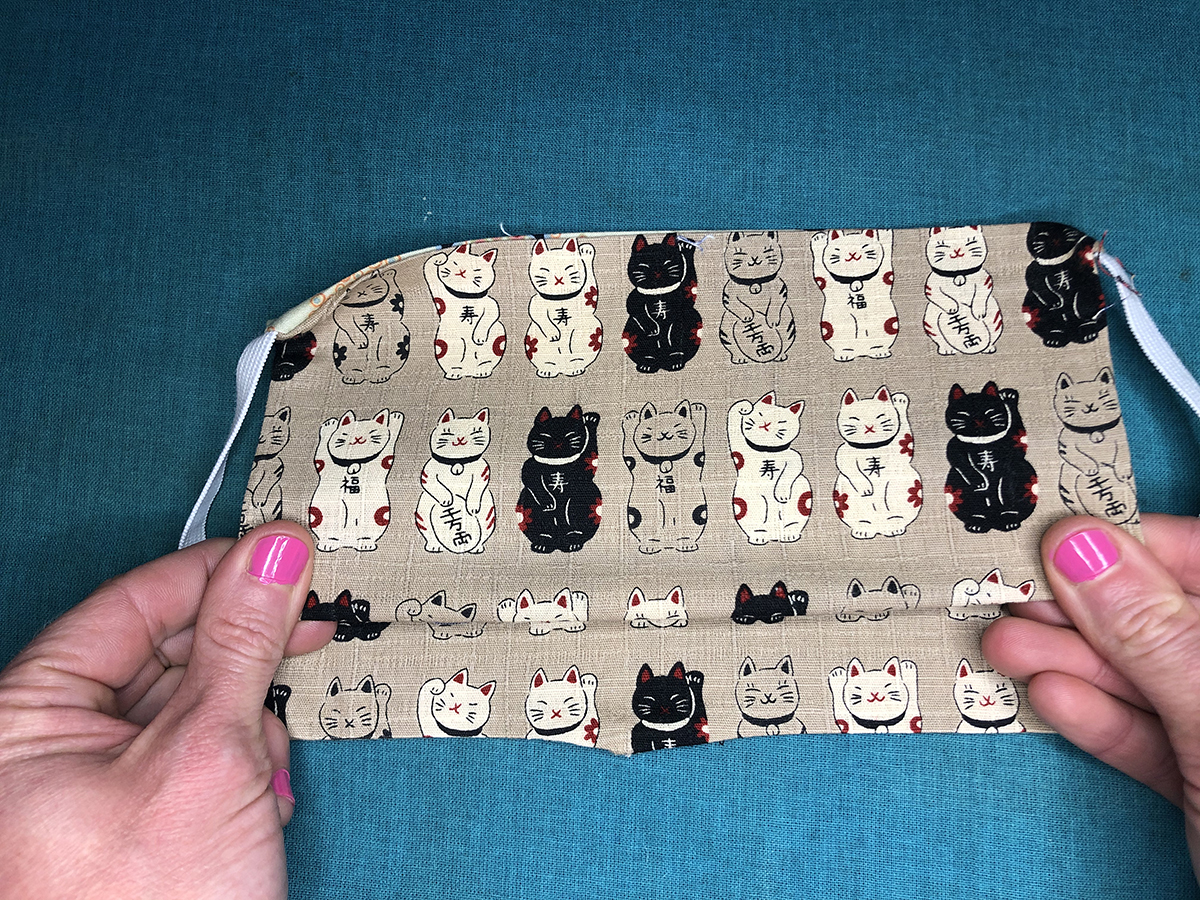
Step 14: Use the gap at the bottom to flip the mask inside out.

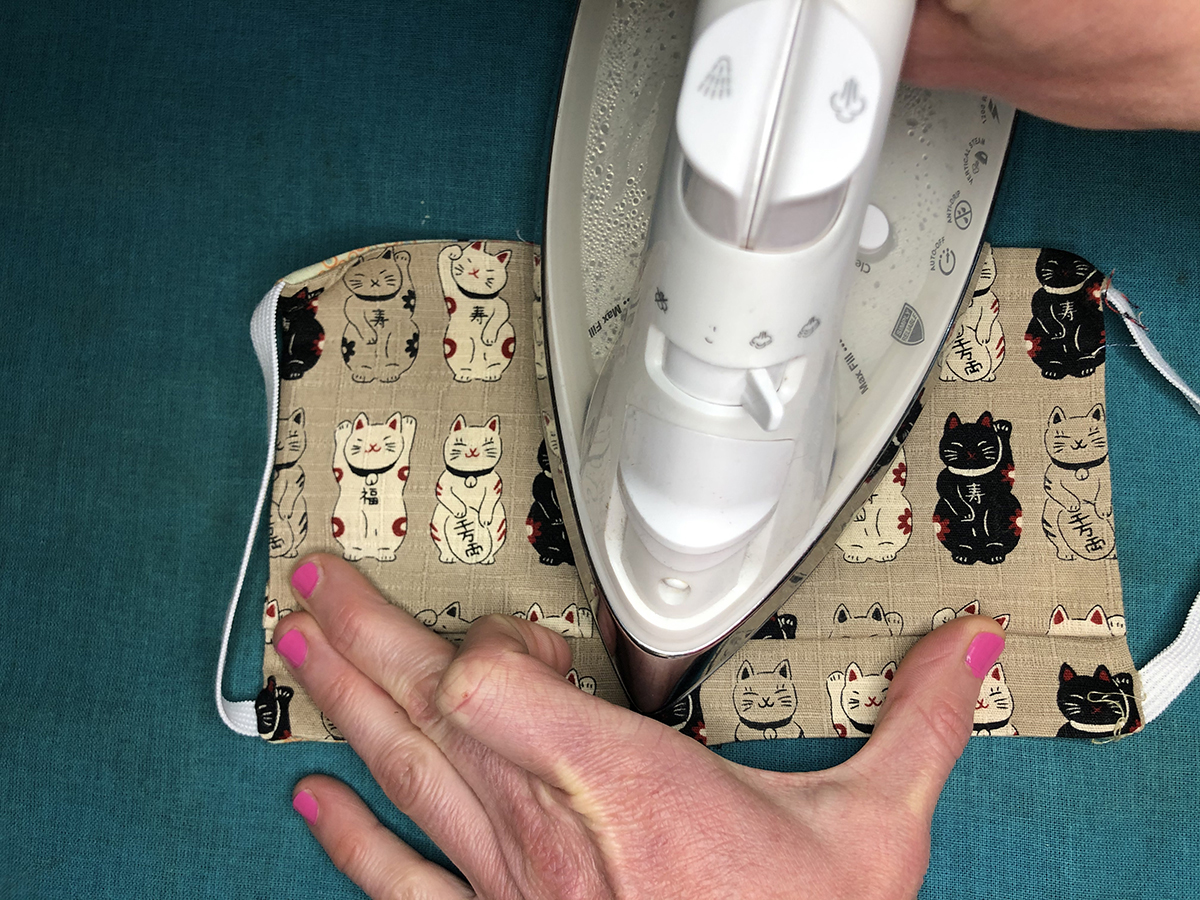
Step 15: Iron it flat. Note, do not get the iron too close to the elastic. Some of it will melt at a very low temperature. ALSO: Use something like a chopstick to make sure the seam gets pushed out to the edge so that you will have a flatter edge and an easier time sewing.
Step 16: Create the bottom pleat.
Step 17: Iron pleat in place.
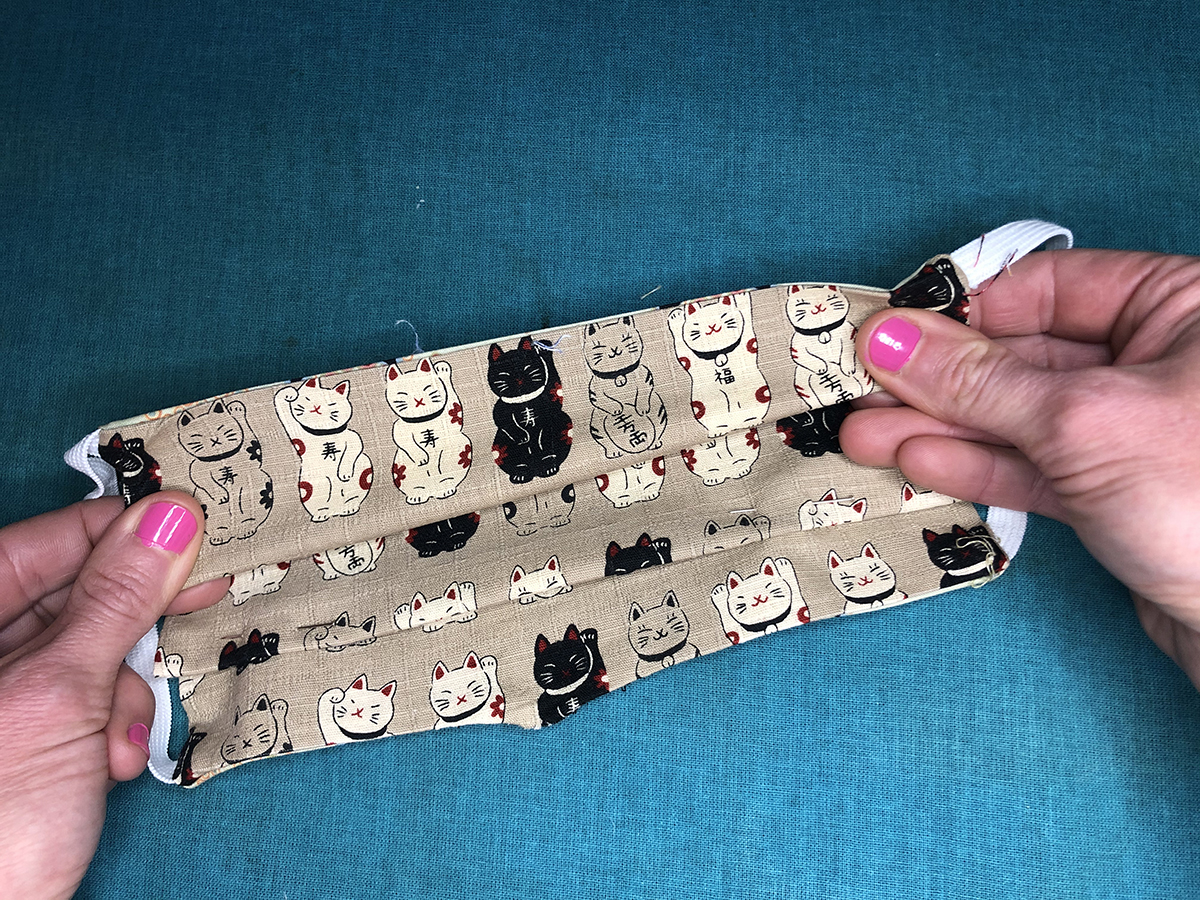
Step 18: Pin the bottom pleat in place, and create top pleat.
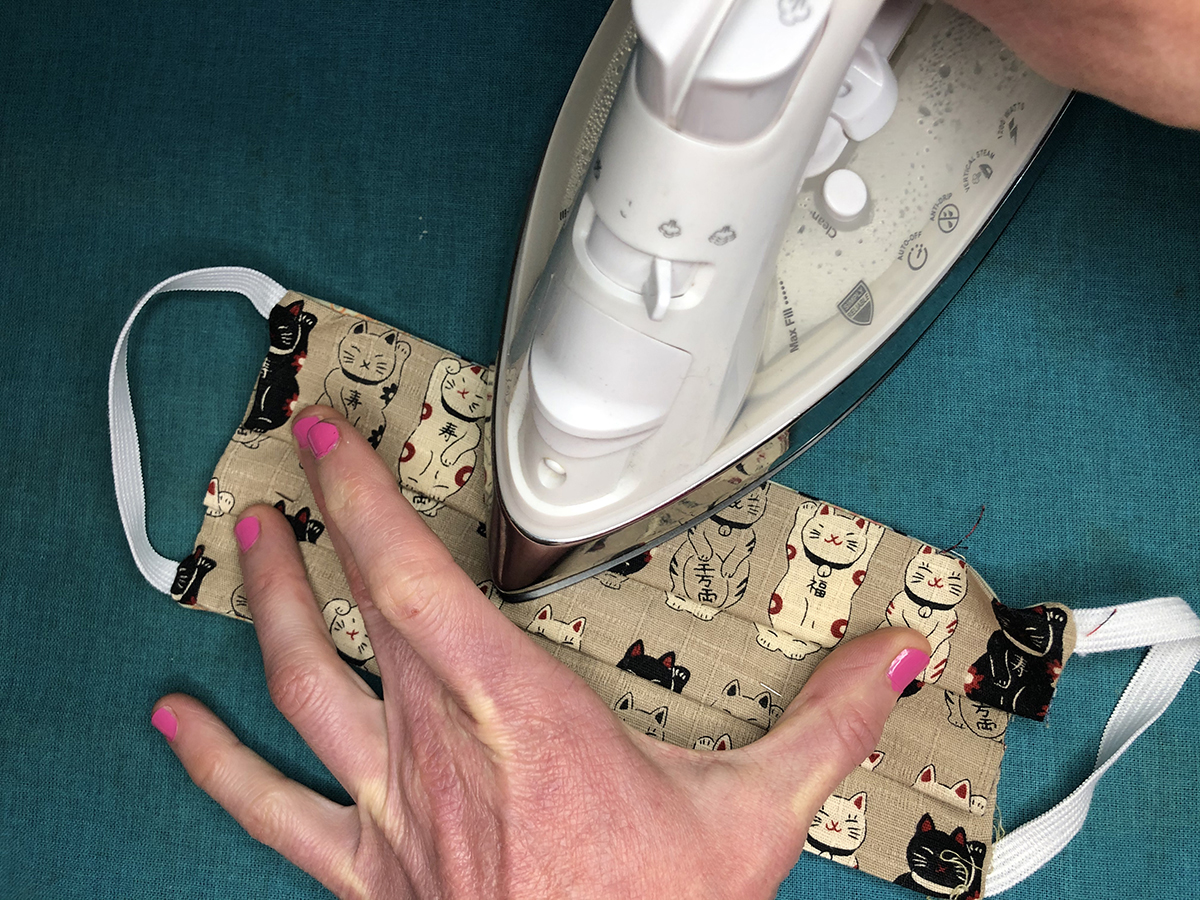
Step 19: Iron top pleat in place.
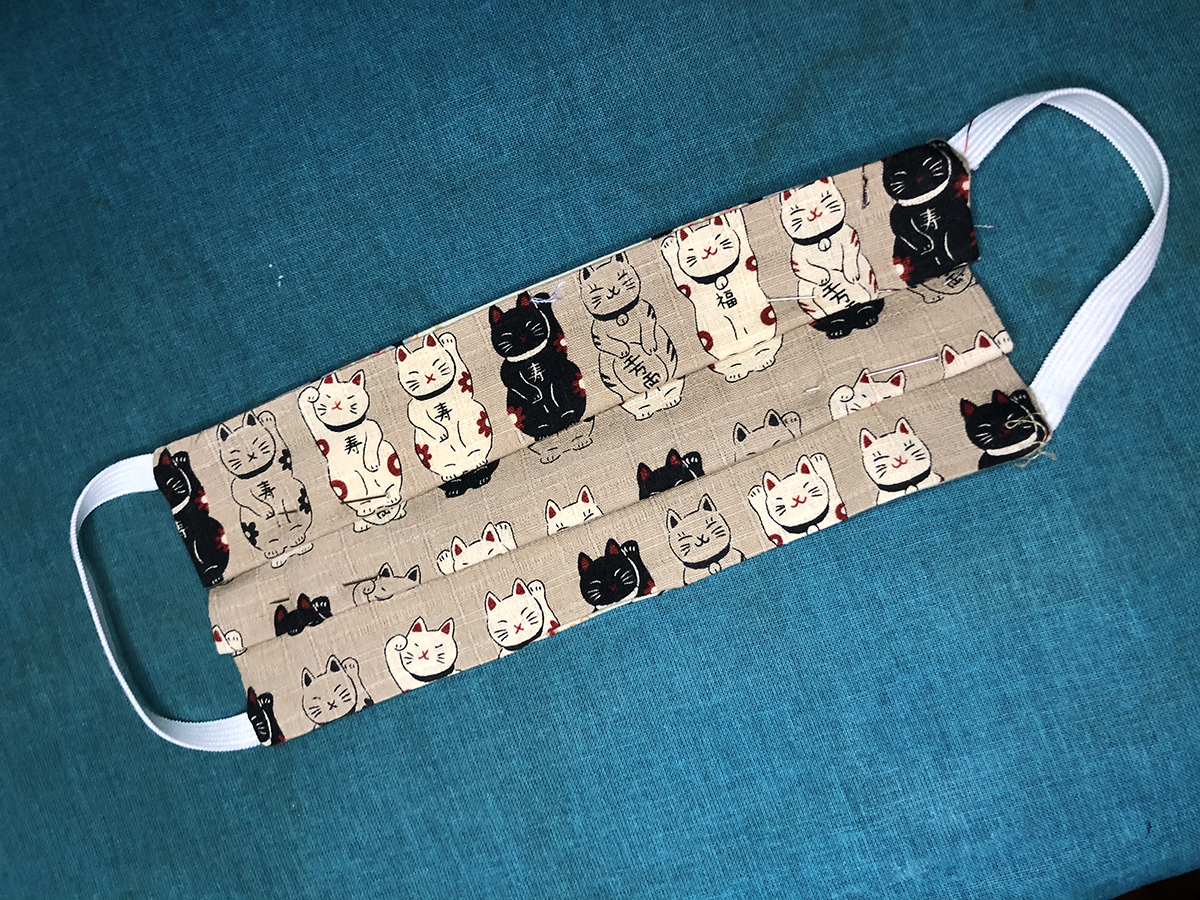
Step 20: Pin pleat in place.
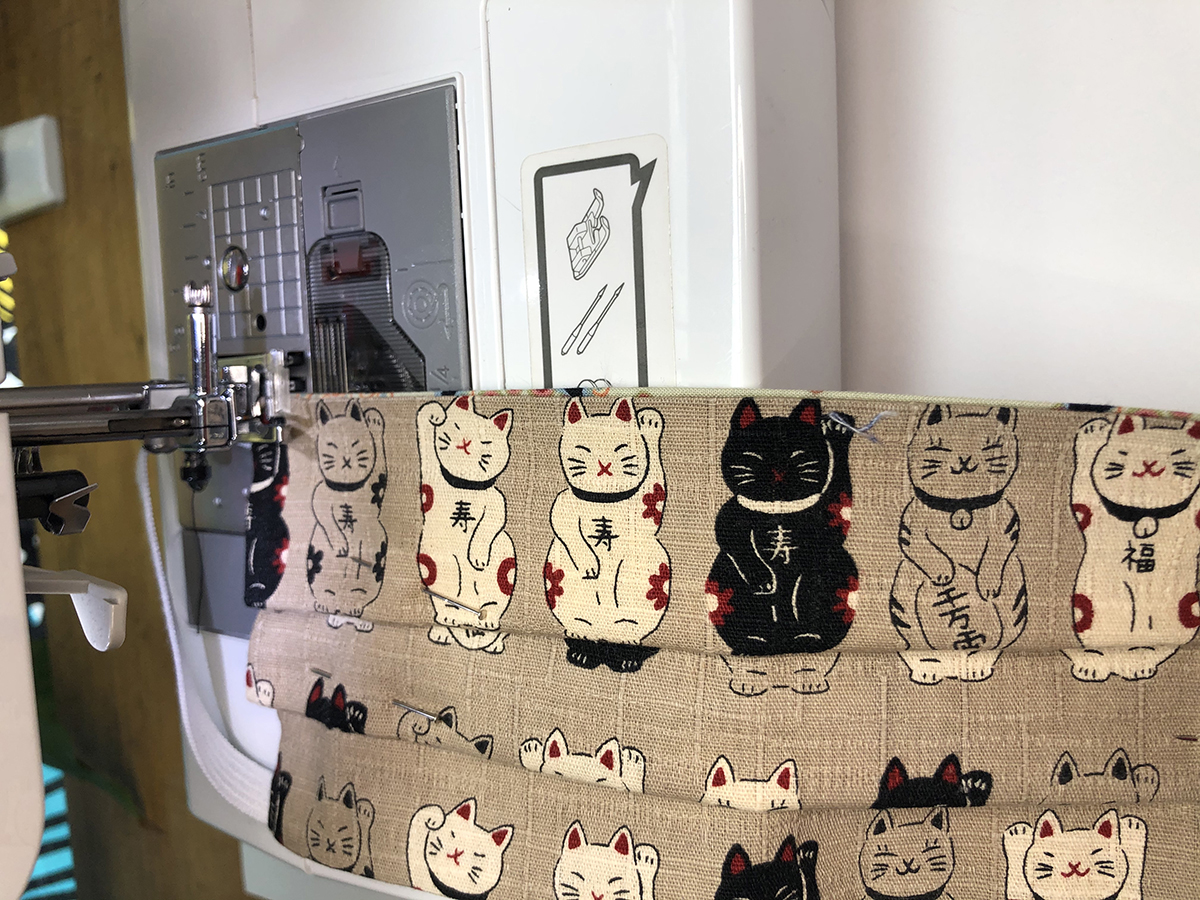
Step 21: Sew around the edges. Take care to make sure the gap at the bottom is sewn shut. I usually will sew two times over the pleated sides as extra reinforcement.
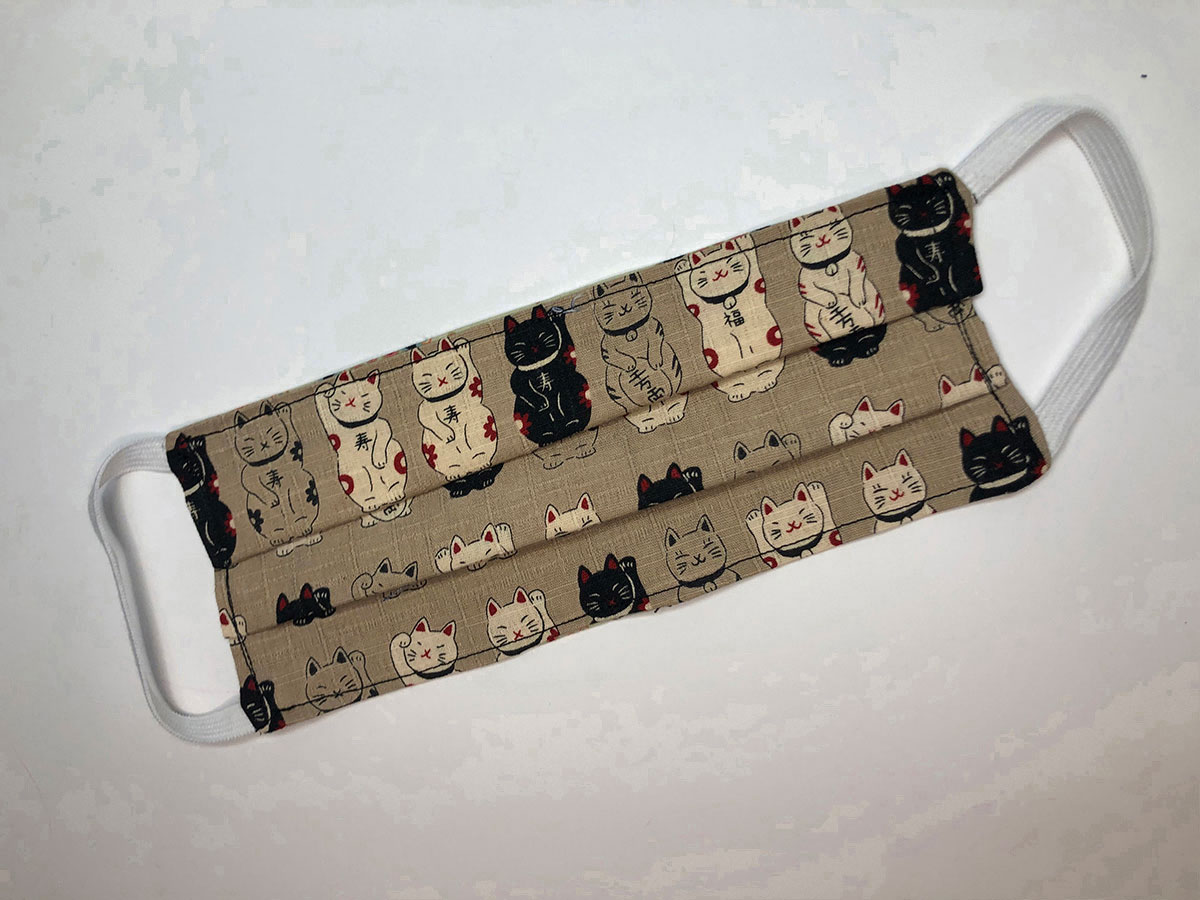
Step 22: You're done! Get ready to be the most stylish person at the grocery store!