

DIY Light Project
As a Professional Organizer, I often help my clients reposition lighting to clear clutter, to direct the flow of a home, or to make a space more inviting. In this video, I show you how to wire a simple light. After I wired it, I attached it to a piece of MDF (not pictured) that I cut out with my jigsaw, so I could screw it to the wall in my laundry room. I am a huge fan of having adequate lighting in a space. Although my Amazon Echo isn't programmed for this light, I do have lots of lamps in other areas of my home. I love to say, "Alexa, please turn on the lights!", and she does it!
Have you wired your own light yet? Post a photo in my Facebook Group, Declutter and Organize with Seattle Sparkle. I'd love to see what you've done!
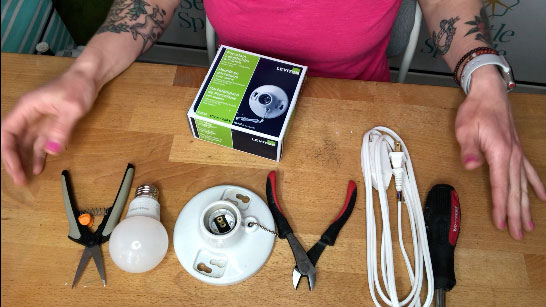
Gather all your supplies: scissors, lightbulb, light socket, wire cutters, extension cord, screw driver and wire strippers (not pictured).
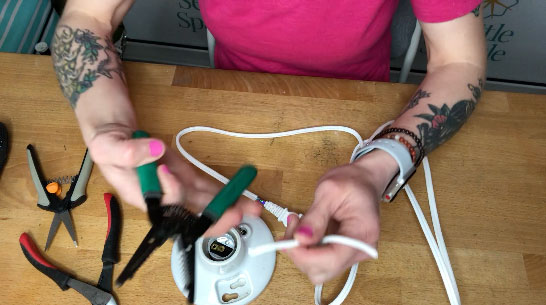
Use the wire strippers to slice off about 1.5" of the rubber coating on the wire.
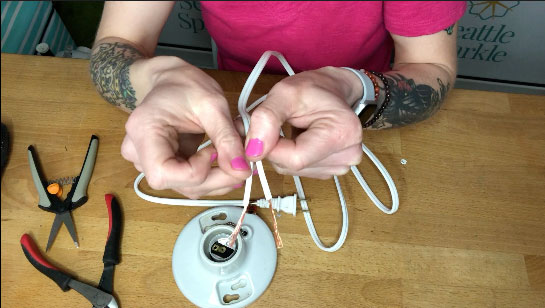
Strip both sides, and twist the copper wire together on each side.
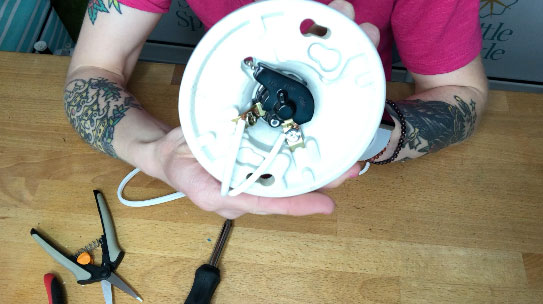
Wrap each side around the corresponding screw, and tighten with the screwdriver.
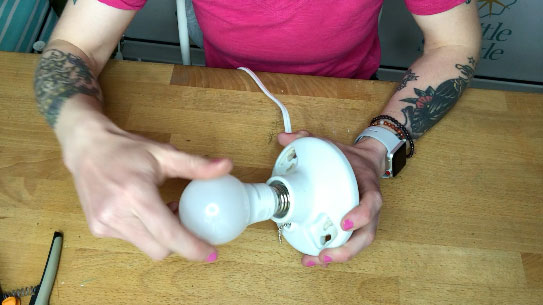
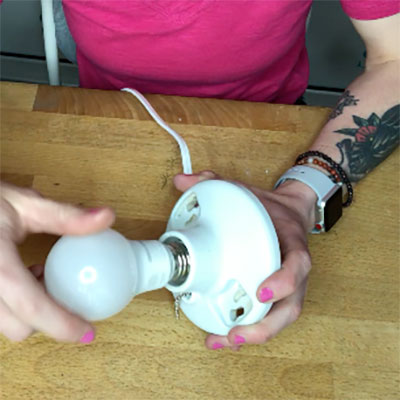
Screw in the lightbulb, plug in the cord...
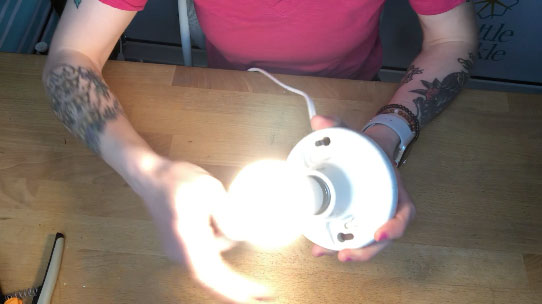
Voilà, you have a light!